
Add GIFs to a document
Show each step in motion with a short GIF instead of a still screenshot, and trim a GIF to the moment that matters.
A screenshot shows where to click. A GIF shows the click happening: a few seconds of the recording, playing on a loop next to the step. GIFs help most with things that are hard to show in a still, such as dragging, scrolling or a menu that opens on hover.
Create a document with GIFs
Section titled “Create a document with GIFs”-
Start a new document from a screen recording or video, as in Create a document from a recording or video.
-
Under Content Type, with Document on, find Images and choose GIF.
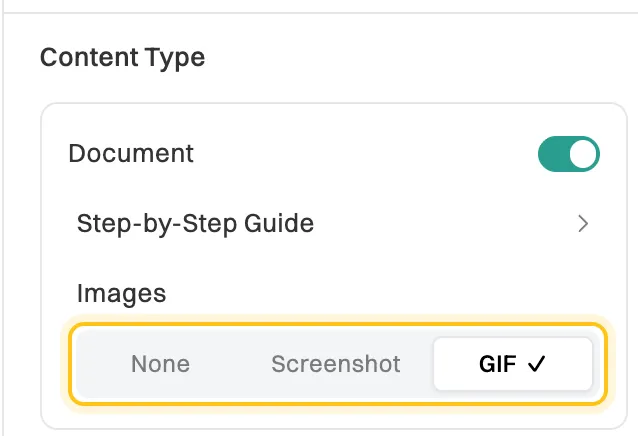
Images: None, Screenshot or GIF. -
Click Generate.
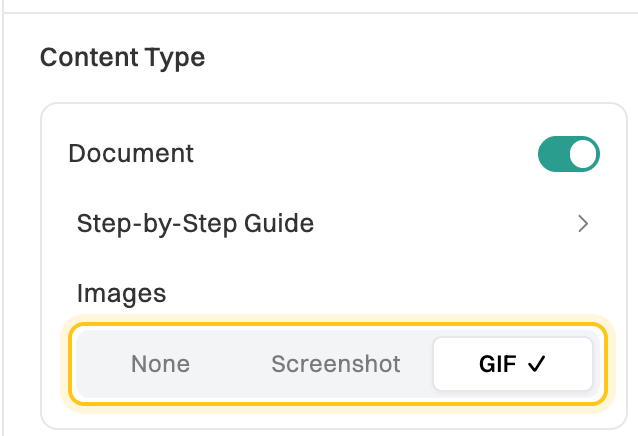
Each step gets a GIF of the moment in the recording where it happens. Wikidoc remembers your choice for your next document.
The other choices are Screenshot, a still image for each step, and None, for a text-only document.
Trim a GIF
Section titled “Trim a GIF”If a GIF starts too early or runs too long, change which part of the recording it shows.
-
Open the document and hover over the GIF.
-
Click Edit GIF.
-
Drag Start and End to the part of the recording you want. A long range is marked Long GIF - may be slow to load: keep GIFs to a few seconds.
-
Click Save.
Edit GIF needs the document’s source recording. If the recording has been removed from the document, you can’t trim its GIFs.
Good to know
Section titled “Good to know”GIFs make a document bigger than screenshots do, so it takes longer to open, especially on a phone. Use them where the motion helps.